Are you looking to setup Google Tag Manager in WordPress? Don’t worry. In this article, we will show you how to properly install and setup Google Tag Manager in WordPress
Getting Started
First, you need to visit Google Analytics and sign up, and pause once you get to the tracking code section. Instead of adding tracking code directly in WordPress, we will be using the tag manager to do that.
Setting Up Google Tag Manager
Now that we are ready to add Google Analytics, the next step is to set up Google Tag Manager.
Visit the Google Tag Manager website and sign up using the same Google account you used with Google Analytics.
After login you will come to the add new account page. Simply provide a name for your account and click on the continue button.
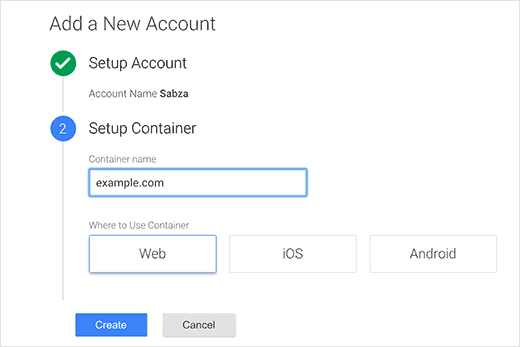
Now you need to add a container to your account. A container could be a website or an app on iOS or Android platforms. In this case we will use the web.
You can use your site’s domain for the container name. You can add multiple containers for each account. Once you’re done click on the create button to continue.
Google Tag Manager will now create your account with the container, and you will see your container dashboard. It would look something like this:

Now your Google Tag Manager account is ready, so the next step is to add a new tag. You can do this by clicking on create new tag.
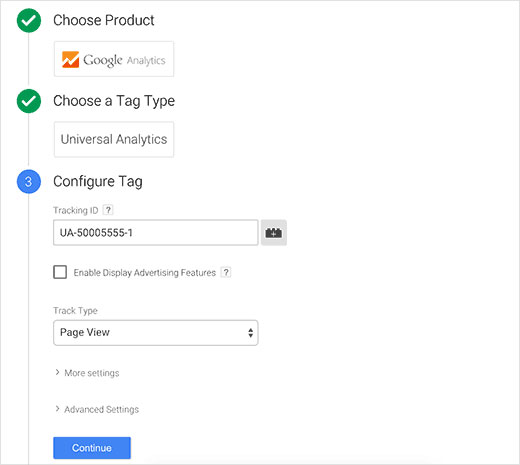
First you will have to choose a tag product. Currently there are 20+ integration templates available.
We will choose Google Analytics for now, but you can always add more tags and choose different products according to your needs. You can even click on custom HTML to add any other custom code snippets.

Once you choose Google Analytics, you will be asked to select between Universal Analytics or Classic Analytics. Choose universal analytics, and you will be asked to provide your analytics tracking ID.
This tracking ID is a special code that allows Google to identify your site. You can obtain this ID by logging into your Google Analytics account and visiting the Admin tab.
Select the account and property for your site and then click on tracking info to expand it. You will see the tracking code link.

Clicking on tracking code will bring you to the tracking code page and will also reveal your UA tracking ID.

Copy your UA tracking ID and paste it in Google Tag Manager. Under track type choose Page View and then click on the continue button.
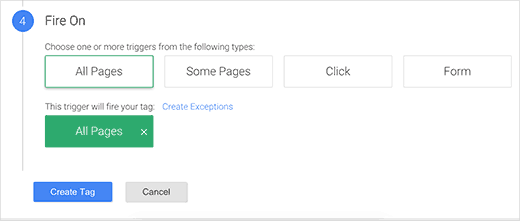
The tag configuration wizard will now ask you when to fire this tag. Select all pages and then click on the create button.
Google Tag Manager will now show you a tracking code that you need to add into your WordPress site. You need to copy this code.

Adding Tag Manager Code in WordPress
First thing you will need to do is install and activate Insert Headers and Footers plugin. Upon activation, you need to visit Settings » Insert Headers and Footers.

Paste your tag manager code in the header section and click on the save button to store your settings.
If you do not wish to install a plugin, then you can also add the Google Tag Manager code in your WordPress theme or Child theme. Simply edit the header.php template and paste the code right after tag.
Publish Your Container
Tags in Google tag manager will not go live until you publish the container. Visit Google Tag Manager dashboard and then click on the publish button.
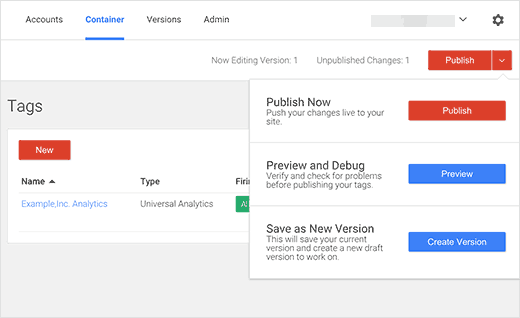
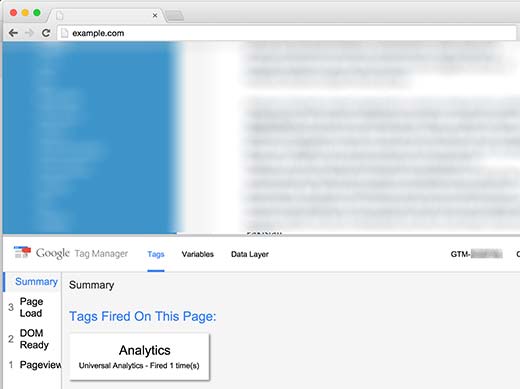
You can also preview your website and Google Tag Manager will show you the tags fired on each page view.
That’s all, you have successfully installed and setup Google Tag Manager for your WordPress site.